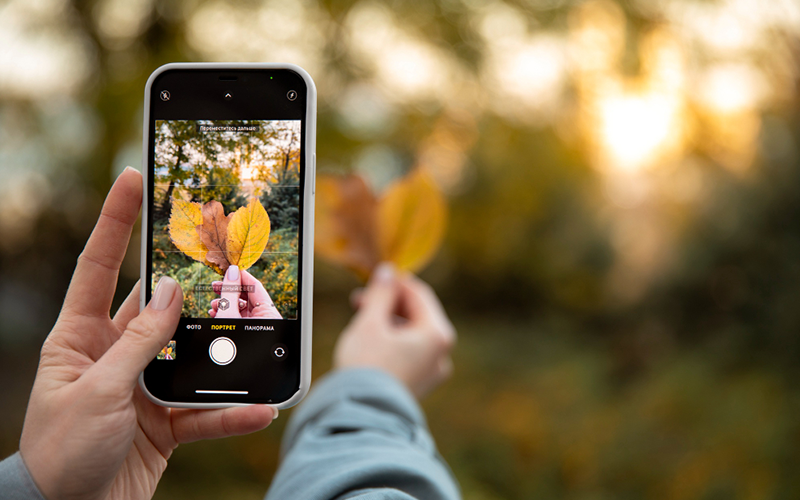
Anyone who has to be counted among the so-called digital immigrants today may still remember their first analogue 35mm camera. It was probably quite large and had a certain dead weight.
Before the first picture could be taken, one had to occupy oneself with the insertion of a 35mm film. Photography itself was always a little bit exciting with such an analogue camera. Because they didn’t know what the recording looked like in the end. Hobby photographers simply photographed until 24 or later revolutionary 36 pictures were taken.
Then it was a matter of storing the 35mm film in a small black plastic box and taking it to the next photo shop around the corner. There they were spoilt for choice as to which size the images should be developed. And of course, the cross for “silk matt” or “shiny” had to be placed on the application. It then took a few days until the photos were developed and could finally be examined. So much for nostalgia in advance …
Today it’s different. In 2000, the first mobile phone with an integrated camera was introduced. And it is now part of everyday life for every smartphone owner to be able to take pictures anytime and anywhere. A glance at the display is enough and the decision is quickly made as to whether the picture is pretty, usable or simply useful. Otherwise, it will be deleted immediately.
But even if the result is already visible on the smartphone display when focusing on a subject, not every photo is as it was actually desired. With the following three tips, even inexperienced people can take great pictures.
Tip 1: Preparation is the be-all and end-all for good photos
It sounds extremely banal, but it is a common problem when taking photos with a smartphone: the cleanliness of the lens. Because we always have the mobile phone with us everywhere, the unprotected lens of the camera is also exposed to dust, dirt, grease and moisture. Therefore, the lens should be carefully cleaned regularly with a microfiber or glasses cleaning cloth.
If you want to edit your pictures after a photo tour and possibly even print them, you should take a look at the camera settings. The highest resolution and also the highest setting of the image quality ensure that there is no disappointment later in the image editing. Furthermore, there should be enough storage space on the smartphone or an additional SD or micro SD card.
Tip 2: Keep the rule of thirds in mind
Once a beautiful motif has been found, many amateur photographers tend to focus on the most important element so that it is placed exactly in the middle of the picture. However, such photos often seem a bit boring and arbitrary. This is where the golden ratio, which is part of the basic knowledge in image design, helps.
In the golden ratio, an image is mentally divided into nine equal areas, i.e. three times three. Many devices of the newer generation also offer the display of such a grid for taking photos with a smartphone.If you now place the most important elements of the motif on these imaginary or visible lines of the golden ratio, the photo gets its very own dynamics and interesting division.
For example, the top line can coincide with the horizon in the image. Or a small but special detail is placed exactly at the intersection of two lines. It’s worth trying out and experimenting here!
By the way: With moving subjects, it is usually not so easy to find the right time for the perfect photo. Many manufacturers now offer a continuous shooting function on their devices. By pressing the shutter button for a longer period of time, several photos are taken in a fraction of a second. This way, even the hobby photographer has enough time later to choose the picture with the perfect moment.
Tip 3: Focus on the subject and release the shutter
Smartphones today are very light and handy. That’s why it’s easy to operate the camera with just one hand or finger. But this is exactly where the crux lies: Precisely because the devices are so light. It quickly becomes blurred when the shutter is released on the screen. The result is blurred images.
Once the decision has been made for a motif, attention should be paid to a firm footing. In the meantime, there are helpful accessories such as tripods or remote controls for mobile phone cameras. But even without such aids, a stable position can be achieved if the device is held with both hands.
A problem for many hobby photographers remains tapping the display shutter release without wobbling. A simple trick helps here: The smartphone is held horizontally when focusing on the desired subject so that the buttons for volume control point upwards. The phone can now be used like a conventional camera, where the plus button serves as a shutter release.
Let’s go!
If you internalize these three simple but effective tips. You will have a lot of fun taking photos with your smartphone in the future with a little practice. Basically, it is always worth taking a look at the user manual before using a new smartphone for the first time. This is because smartphone cameras today offer far more setting options than automatic mode. If you know the possibilities and handling of the camera. There are numerous options for great pictures and effects – so get out into nature and start shooting!

